- 9,1/104,5 out of 5 stars. See our reviews on Kiyoh (opens in a new window)
- Ordered in no time
- Fast delivery
- Sorted quickly

Get through your renovation unscathed: 6 tips for safe DIY
11 februari 2020 · Ruud Bats
Whether you're an experienced DIYer or all fingers and thumbs, accidents can happen in an instant. Although DIY at home is often seen as a fairly low-risk activity, you can still suffer nasty injuries. So read these six tips carefully and prevent DIY accidents!
#1 Choose the right workwear
Protect yourself! When doing DIY, we often cover up important belongings to prevent them from getting damaged, but you're the most valuable thing of all! So avoid a broken toe from falling bricks or bath edges, or a pierced foot from stepping on a nail, and choose good work boots with steel toe caps. Work gloves are also often forgotten when doing jobs in and around the house, but they're essential for working safely. After all, you do DIY with your hands, and you don't want to injure them!
A safety helmet, ear defenders and safety glasses can also come in very handy. Ear defenders are useful if you'll be doing a lot of drilling or using noisy tools, as in the long run this can cause serious hearing damage. Safety glasses are important if, for example, you're sawing and lots of wood, metal or splinters of other materials are flying around.
#2 Use the right materials
It may go without saying, but choose tools that are actually designed for the job and that are well maintained. Broken and/or poorly maintained tools can be seriously dangerous. Also, always read the instructions carefully beforehand and follow them.
#3 Use a good stepladder
Don't use a stool or a (swivelling) office chair to 'quickly' deal with overhead work. Not standing steadily (often with tools in your hands) causes most DIY accidents. So choose a sturdy, all-purpose stepladder you can use for different jobs. Found a good ladder? Make sure you always stand on it with both feet and that it's on firm ground.
#4 Work outside as much as possible
Sawing, grinding, demolishing, painting and gluing are best done outdoors as much as possible. This stops harmful substances or splinters getting into your eyes or lungs. Does the work really have to be done indoors? Then make sure there is good ventilation and protective clothing.
#4 Make a plan and work tidily
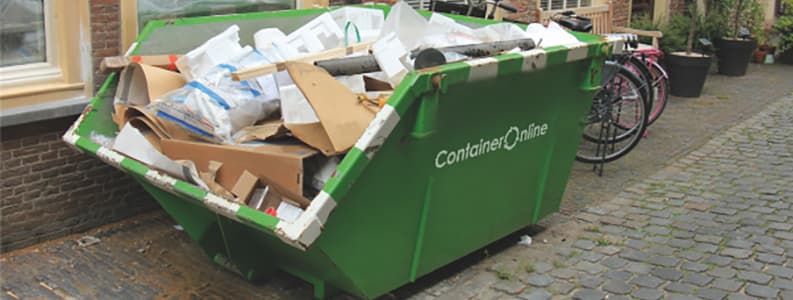
Think in advance about everything you'll need, get the right DIY materials, a waste skip and (if needed) enough helpers. Also make sure the work area stays tidy at all times. When you start demolishing, clear the debris straight away into a construction and demolition waste skip. Leaving this waste lying around isn't just awkward, it's above all unsafe. Also make sure there are no tools or other waste such as nails, wood and other materials lying about. A tidy work area isn't only safer, it also makes you more productive. For example, you'll spend less time looking for your tools.
With a waste skip you can get rid of your waste straight away, with no temporary storage or long trips to the recycling centre. At ContainerOnline you can hire a waste skip for:
#6 Communicate
Always let the others working with you know what you're doing, so they don't accidentally put you in a dangerous situation. Have you turned off the gas, water or mains power, for example? Tell the rest of the team so they don't switch it back on while you're working.
More posts
29 June 2026 · Renovating
How long a waste skip can stay
Got a job that takes one day, or a few weeks or months? Here's how long a waste skip can stay. After this period, you pay a rental charge.
Continue reading
11 May 2026 · Renovating
6 tips to avoid extra costs
Skip hire comes at a fixed price, but extra costs can still crop up. That's a waste of money and easy to avoid. Read our 6 best tips.
Continue reading
2 April 2021 · Renovating
Waste skip on a Saturday?
Want a waste skip delivered on a Saturday? How does it work, and is it even possible? What should you keep in mind if you're planning a weekend DIY job?
Continue reading